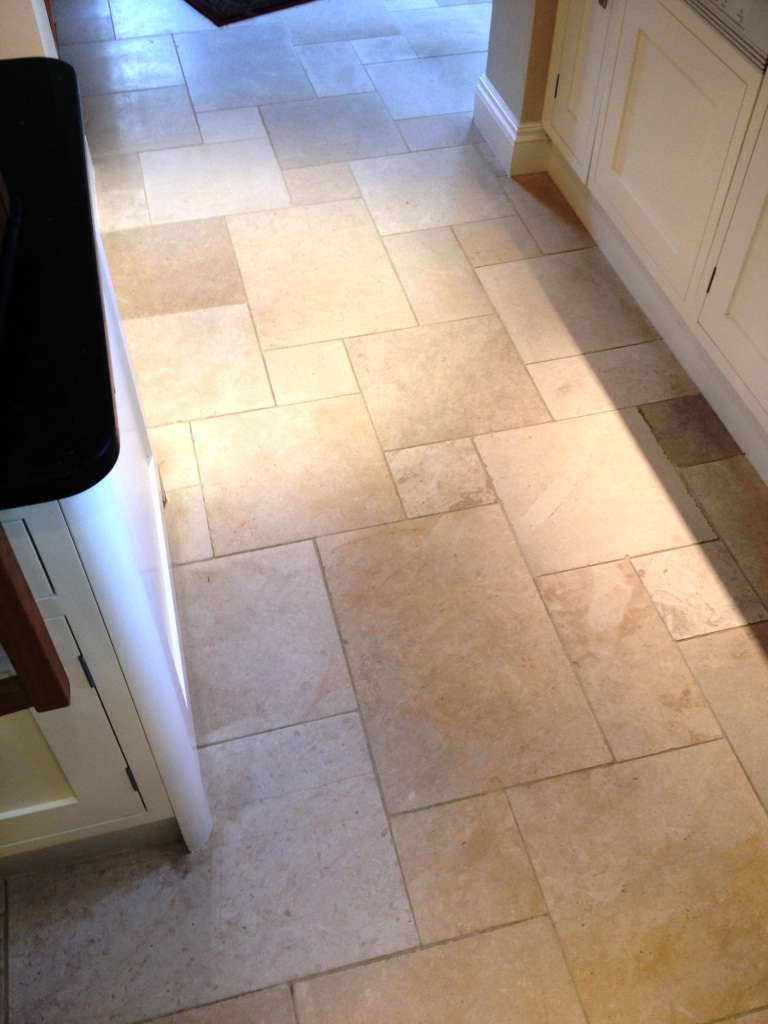
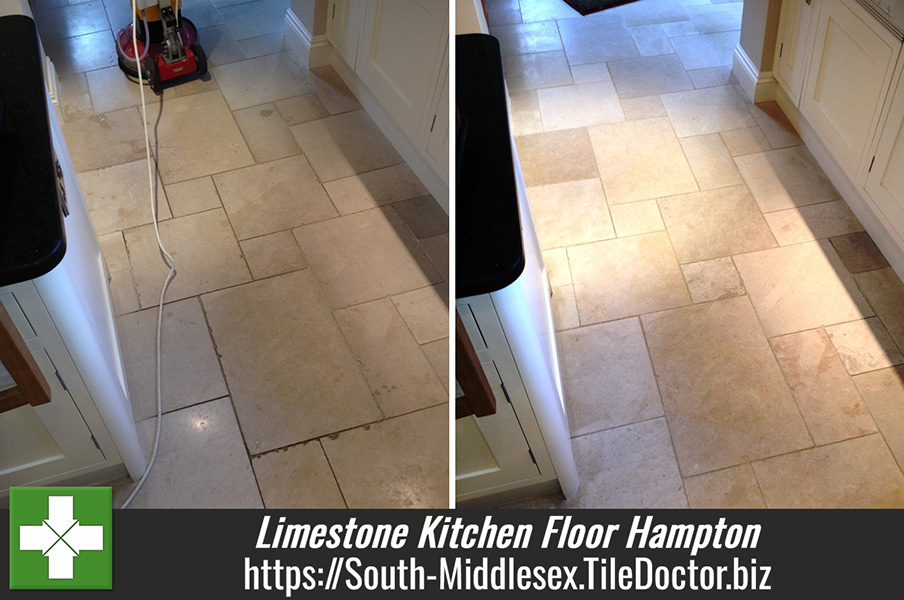
This Limestone tiled kitchen floor in Hampton, Middlesex, was proving troublesome to keep clean and was now in need of a deep clean and re-seal to ensure easy maintenance in the future. Being a high traffic area the tile and grout had accumulated a high amount of soil over the years and the tiles had lost their shine due to wear on the face of the stone.

Cleaning Limestone Tiles
I gave the floor a quick wash down with a dilution of Tile Doctor Pro-Clean to ensure we had removed any surface soil and grit and then proceeded to burnish the Limestone tiles using a set of diamond abrasive burnishing pads fitted to a heavy rotary machine. You start with the coarse pad which cuts through the stone and removes any remaining old sealer and soil and then smooth off the surface ready to receive a new seal using the medium, fine and extra fine pads until a highly polished finish is achieved.
The grout lines were then scrubbed by hand using more Tile Doctor Pro-Clean and a fair amount of elbow grease; the whole floor was then washed down with the water being removed from the floor using a wet vacuum.
Sealing Limestone Tiles
The floor was then left for twenty four hours to allow it to dry and then I returned to seal the Limestone and Grout using two coats of Tile Doctor Colour Grow. This is an impregnating sealer that occupies the pores in the stone so contaminates cannot become ingrained in the stone making it easier to clean in the future. Hopefully you can appreciate from the pictures how transformed the kitchen now looks.


I think it’s fair observation that owners of Stone floors will need to have them properly cleaned and re-sealed every few years especially in high traffic areas such as hallways and kitchens.